Powered by Blogger.
  • Home
  • About me
  • Crochet
  • Quilling
  • Contact
Etsy Facebook google+ Instagram Pinterest Youtube

BlueberrySwirlz


This ear warmer pattern is very close to my heart. It uses the same stitch as my Floral Fantasy Scarf.  Read my blog on Floral Fantasy Scarf here. Because that is one of my premium patterns I decided to do a free pattern using the same stitch 😊

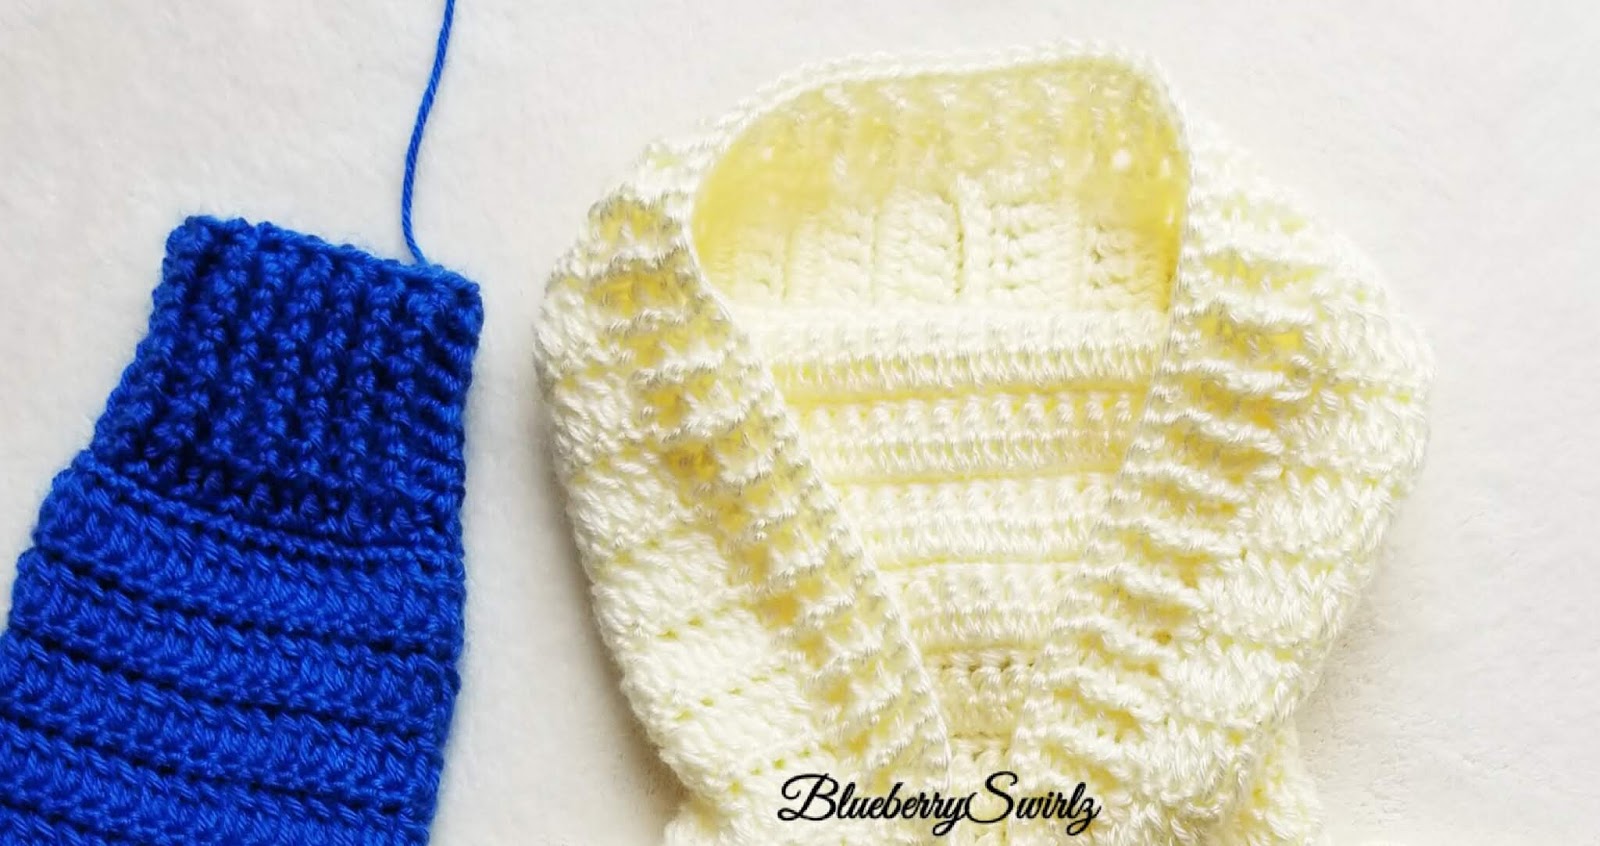
This pattern is for adult women's size and measures 19 inches wide. Working with a smaller yarn and hook will create a smaller one. I have not tested it though. If you do, please leave a comment about your experience so that it can help others trying this pattern.

If you wish to buy an inexpensive printable PDF for this pattern you can buy it from my Etsy shop here. The PDF has a lot more progress pictures. Below is the free pattern. So here we go.


Materials:
Yarn: Caron Simply Soft, main color half skein (Off White), coordinating colors in small quantities - Soft pink and Robbin's egg.
Hook: 5.00mm
Scissors
Stitch marker - optional but good to have.


Abbreviations:
ch: chain
DC: Double Crochet
SC: Single Crochet
HDC: Half Double Crochet
BLO: Back Loops Only
ss st: slip stitch


Special Stitches:
3rd loop of HDC:

On the wrong side of HDC stitches is a 3rd loop at the bottom. See image below. If you have any doubts lookup camel stitch or 3rd loop HDC on YouTube. IN THIS PATTERN WE ARE NEVER TURNING THE WORK, SO WORK IN THE 3RD LOOP AS SHOWN BELOW.


 Puff Stitch:  *yarn over, insert hook into ch1 space, and pull up a loop *, repeat from * to * 3 more times, 9 loops on hook, yarn over and pull through 8 loops,  yarn over pull through 2 loops.

How to read the Pattern
3DC would mean 3 DC in the same stitch of previous row.
DC 3 would mean 1 DC in next 3 stitches

Note: This pattern is worked in the round and joined with slip stitch. The stitch count across the pattern remains same. 

Chain 72, join in the first ch

With Off White
Row1: ch1, HDC in the same stitch as ch1 and all the way across, join in the round.

Row2: ch1, SC in the 3rd loop of HDC, mark it with a stitch marker, SC in 3rd loop of HDC all the way across.

With Robbin's Egg
Row3: ch1, *SC 5 in BLO, ch2, skip 6 stitches, (DC + ch1) 7 times in both loops of the next stitch, ch1, skip 6 stitches* repeat from *to * till the end, join in the 1st SC with a ss st.

Row4: ss st into next stitch, ch1, *SC in BLO of next 3 stitches, ch2, puff stitch + ch1 in each ch1 space from previous row (6 times), ch1, skip 1SC from below* repeat from * to * till the end of the round, join with slip stitch on top of first SC.

With Off White
Row5: HDC in each of the 3 SC from previous row, 2HDC in each ch2 space, HDC in each puff stitch and each ch1 space. Join in the round with a slip stitch.

Row6: repeat Row 2

With Soft Pink
Row7: skip 2 stitches, join yarn in next stitch. ch4, put a stitch marker in 3rd ch. This acts as a DC + ch1. (DC +ch1) 6 more times in the same stitch, ch1, skip 6, SC 5 in BLO, ch 2, *skip 6, (DC +ch1) 7 times in the next stitch, ch1, skip 6, SC 5 in BLO, ch 2* repeat from * to * ss st on top of ch 3, marked with stitch marker.


Row8: ch2, (1puff stitch + ch1) in each ch1 space, ch1, skip 1SC below, SC 3 in BLO, skip 1 SC, ch2, *(1puff stitch +ch1) in each ch1 space below, ch1, skip 1SC below, SC 3 in BLO, skip 1 SC, ch2* repeat from * to * join with ss st in the first puff stitch.

With Off White
Row9:  repeat Row5
Row10: repeat Row2
Fasten off.

Line it with fleece if you live in a cold region like me 😊


Share
Tweet
Pin
Share
No comments


I made this blanket for my baby girl while I was expecting her. It took me a couple weeks as I went slow, but I thoroughly enjoyed it. There is an amazing video on YouTube by crochetblossom that does a swatch of this stitch. Super easy to follow.

I used Caron simply soft for this blanket as I wanted it to be really soft for my baby. Also the ripple stitch is denser than most other stitches and so the blanket has almost no holes...

Materials:

Yarn: Caron Simply Soft in Strawberry, Robin's egg and off white. 
Hook: 5.00

I used 2 skeins of each and was left with very little of each color. Ideally you could use 1 more skein of the first color and do the border in that color. 

Abbreviations:

C1: Color1 - Strawberry
C2: Color2 - Robin's egg
C3: Color3 - Off white

ch: chain
dc: double crochet
dc2t: double crochet two together
sc: single crochet


Note: ch3 does not count as a stitch.

With C1 ch mumtiples of 12 and then chain 3 more. I did a ch of 123.

Row1: dc in the 4th chain from hook, dc in the next 3 ch, *dc2t next 2 ch, dc2t next 2 ch, dc in next 3 ch, 2dc in each of next 2 ch, dc in next 3 ch*  repeat from * to * until you are left with 4 stitches. Then dc in next 3 stitches, work 2 dc in the last ch. (120) 

Row2: ch3 turn, dc in the same stitch as ch3, dc in the next 3 stitches, *dc2t next 2 stitches, dc2t next 2 stitches, dc in next 3 stitches, 2dc in each of next 2 stitches, dc in the next 3 stitches* repeat from * to *  until you are left with 4 stitches. Then dc in next 3 stitches and  end with 2dc in the last stitch. (120)


Row3: repeat Row 2 in C1.

Row4-6: Repeat row 2 C2.

Row7-9: Repeat Row2 in C3.

Row10-12: Repeat Row2 in C1.

Repeat Rows 4-12 desired number of times. I repeated 7 more times.


Share
Tweet
Pin
Share
No comments


I am so in love with this scarf and it's name! The texture, colors, fringes! What's not to love!
I used Red heart soft for this project with 7.00 mm hook and it turned out super soft :)

 This pattern is one of my premium patterns and is now available to buy from my Etsy store. Click here to go to the Etsy listing.

 It turned out to be a real challenge to get the math right around the two types of ripples used in this scarf pattern. There was a lot of work and bit too much frogging!


 I would almost always make a mistake in the granny ripple row! Having said that...Very happy with the outcome and can't have enough of it! Look out for an ear warmer pattern in the same stitch coming out soon😊 
Share
Tweet
Pin
Share
No comments


I have been getting a lot of questions about this color block jacket I made for my son. So here is some information on how I made it. I believe the size would be 5T, but it is easily adjustable if you know to work a ragalan sleeve it is super easy.

I saw a post on instagram by @daisyfarmcrafts and decided to make one for my son. Head over to this link for their pattern. Below you can find my pattern notes.

Yarn: 2 skeins each of Caron simply soft in Royal Blue and Off White.
Hook : 6.0 mm for body and 5.0 mm for ribbing and edging.

The stitch used is alternating rows of SC and double crochet 2 together or DC2T.

Divide for sleeves after 5 alternating rows of sc and DC2T. Devide in the sc row.

Ribbing for sleeves and waist

Using smaller hook work 1 row of Double Crochets (dc)
6-7 rows(depending on how many you want) of alternating Front Post Double Crochet (FPDC) and Back Post Double Crochet (BPDC) stitches.


Front and hood edging

Front edging is worked with hood edging.
With smaller hook
Row1: Start at lower left corner. Half Double Crochet (HDC) evenly up to the beginning chain just before the hood starts, SWITCHING colors where ever needed.
Work DC evenly till you reach the other end of the hood. Work HDC on the right side.

Row2: Ch1 turn, go up the right side working HDC. Work alternating FPDC and BPDC stitches across the hood and switch to HDC for the left side.

Row3: ch1 turn, work HDC on the left side, alternating FPDC and BPDC on hood, work HDC on right side - ch1 skip 1 stitch for button holes. 
I have 5 button holes separated by 3 blocks of rows.

Row4: ch1 turn, work hdc in each stitch including ch1 on right side, SC on hood, HDC down the left side. Fasten off.


Attach buttons on left side for boys.

Update:
I have now liNed this jacket and attached buttons 😊
For lining I used a white throw from IKEA that was on sale for 1$ and I still have a lot of it left to make a little blanket for my baby or use it elsewhere. 

To line the jacket, I cut 1 back panel, 2 front panels, 2 for sleeves and sewed them all together. I did not take pictures..But I have seen there are videos on YouTube about how to do this. Hand sew the edges to the jacket leaving a slight margin.

Buttons are from Walmart.


Share
Tweet
Pin
Share
2 comments

I created this jacket to wear over skinny jeans, T-shirt and boots. Sometimes when we are indoors, we need a warmer layer but not too warm. This 3/4th sleeve and sitting just over the waist Jacket is a perfect layering piece. The crew neck gives it a bit of formal look too when made in solid colors. I would love to see you all giving this pattern a try.  Don't forget to use #crochetswagjacket on social media 😊. Please follow me on Instagram @blueberryswirlz


If you wish to buy an inexpensive printable PDF for this pattern you can buy it from my Etsy shop here. Below is the free pattern. So here we go.

Materials:
Yarn: Worsted Weight or Category 4 yarn. I used just over 6 skeins of Isaac Mizrahi Craft Yarn, University in Parsons
Hook: 5.5 mm
Tapestry needle( optional, for hiding the tails)
Abbreviations:
ch: chain
SC: Single Crochet
HDC: Half Double Crochet
FLDC : Front Loop Double Crochet, a double crochet in the front loop only
FPDC: Front Post Double Crochet
BPDC: Back Post Double Crochet
sl st: slip stitch

Suggestions for all other sizes are at the very end.

For size S
Ch 68
Row1: FLDC in 3rd ch from hook and all the way across (66)

Row2: Ch2, turn, FLDC in 9 stitches, 2FLDC, ch2, 2FLDC in the 10th stitch. *FLDC in the next  15 stitches, 2FLDC, ch2, 2FLDC in the next stitch*
Repeat from * to * 2 more times, FLDC in the remaining 8 stitches. (82)

Row3: ch2 turn. *FLDC in each stitch until the ch2 space. 2FLDC, ch2, 2FLDC in the ch2 space* repeat from * to* to complete the row.(98)

Row4-10: Repeat Row3 (226)

Shaping Armholes: 
FLDC in each stitch until first ch2 space, 2FLDC in first ch2 space, ch 2 , 2 FLDC in second ch2 space, we are going to skip all the stitches between the two ch2 spaces. This is the first armhole formed.
FLDC in next stitch and all the way to the thirst ch2 space. 2FLDC in third ch2 space, ch2 , 2 FLDC in fourth ch2 space, we are going to skip all the stitches between the two ch2 spaces. This is the second armhole formed. Ch2 turn


Body:
Row1:  FLDC in each FLDC from previous row and each ch in the armhole, ch2 turn.
Row2-15: FLDC in each stitch across, ch2 turn

Ribbing:

Row1: dc in both loops all the way across, ch2 turn.
Row2: dc in the first stitch which is the same stitch as ch2, *FPDC in next, BPDC in next* repeat from * to* until you have 1 stitch left, dc in last stitch. Ch2 turn.
Row3: Repeat Row2. Make sure FPDC is on top of FPDC from previous row and BPDC is on top of BPDC from previous row.

Sleeves:
Join the yarn in the middle Of the underarm. Mine is in the left ch2 when right side up. In the first row of the sleeve it is important that you work in the correct direction, with your work facing right side, join yarn and after a few stitches you will be able to make out if the direction of your work is correct or not.

Row1: ch2, dc in same stitch, dc2t the rough edges of the underarm, dc2t rough edge and ch space from Row10, dc2t ch2 space and next stitch. Until this point we are working in both loops. Now on continue to work in front loops only. Mark the center 2 loops in the round with stitch markers. FLDC in each stitch until the stitch markers, dc2t front loops only next 2 stitches, FLDC till you reach one stitch before the ch2 space from Row 10. Dc2t next stitch and ch2 space, dc2t ch2 space and rough edge, dc2t rough edge and ch from shaping underarm. Join with sl st to top of first dc. Ch2 turn
Note: when joining in the round join on both loops throughout the pattern.


Row2: dc2t front loops only - 2 times, FLDC all the way across with a dc2t in front loops only the 2 stitches in the center. Dc2t 2 times in the end, join with sl st, ch2 turn.

Row3: dc2t front loops only, FLDC all across with dc2t front loops only in the middle and continue with FLDC ending in dc2t front loops only, join with sl st ch2 turn. 47

Row4: dc2t front loops only, FLDC all the way across ending in dc2t front loops only join with sl st, ch2 turn. 45


Row5: repeat row 4 (43)

Row6: Repeat row4 (41)

Row7: FLDC all the way across, join with sl st, ch2 turn (41)

Row8: Repeat Row 4 (39)

Row9-16: repeat row7 (39)

Row17: repeat row4 (37)

Row18-19: repeat row7 (37)

Do not fasten, continue to sleeve ribbing.

Sleeve Ribbing:

At the end of row 19. Do not turn. Continue to ch9.

Row1: skip 1 chain and YOST into second chain from hook, YOST into the remaining chains, sl st into base of same stitch at ch9. (8)
Row2:  sl st into next stitch of sleeve, ch1, YOST into back loops only of previous row. Be careful to ignore the slip stitches at the beginning and do not miss the last stitch. Ch1, turn. (8)
Row3: YOSL into back loops only into each stitch, sl st into base if the stitch, sl st into next stitch of sleeve, ch1 turn. (8)
Repeat Rows 2and 3 all the way around the sleeve. Total 37 rows.
Sew the two ends of the sleeve ribbing using  slip stitches


Neckline or Collar Ribbing:

With right side facing up, join yarn in the corner of the left panel. Chain 11.
This ribbing is worked in the same way as the sleeve ribbing. Here you will have 66 rows.
Do not fasten off, continue to edging.

Front edging:
Right side: continue from the collar, ch1, turn work by 90 degrees. Evenly work 1 HDC along the length of the right front. I worked 1 HDC in each YOST from collar and approximately 2 HDC per row of the body. Ch1, turn

Row2-4: HDC across, ch1 turn.

Left side: join yarn to bottom of left panel and evenly work HDC along the left side. Ch1, turn
Make sure the number of stitches in same as on right edging.

Rows 2-4: HDC across, ch1, turn.


Suggestions for other sizes: 

Begin with the same number of base chains for each size. 

The difference comes in the row where we form armholes. 

For XS join for armholes one row before in this pattern that would be in the 10th row.

For M do additional 1 row before shaping armholes. 

For L do additional 3 rows before joining for armholes. 

For XL do additional 4 rows before joining for armholes. 

For sleeves follow same pattern and keep doing dc2t under the arm on the rough edges, after that continue in the same way..


Share
Tweet
Pin
Share
No comments
Newer Posts
Older Posts

About me

I am a wife, mom, avid reader, artist, working professional who likes doing all things crafty. I am also passionate about travel and hiking. I hope you like what you see here.

Follow Me

  • Etsy
  • Facebook
  • google+
  • instagram
  • Pinterest
  • youtube

Contact Form

Name

Email *

Message *

Blog Archive

  • ►  2019 (4)
    • ►  February (1)
    • ►  January (3)
  • ▼  2018 (11)
    • ▼  December (5)
      • Crochet Floral Fantasy Ear Warmer Free Pattern
      • Crochet Ripple Baby Blanket Free Pattern
      • Crochet Floral Fantasy Scarf
      • Crochet color block Jacket for boys
      • Crochet Swag Jacket Free Pattern
    • ►  November (2)
    • ►  October (4)
  • ►  2016 (7)
    • ►  November (7)
Facebook Instagram Google+ Youtube
FOLLOW ME @INSTAGRAM

Created with by ThemeXpose | Copy Blogger Themes